Add A Background

Choose A Background Image
We have plenty of fun birthday backgrounds for you to choose from! Balloons, birthday cake, confetti, a plain colour background... whatever you fancy.
Simply select your chosen background by clicking one of the image swatches displayed below. Alternatively, you can add your own photo to use as a background...
Add An Image
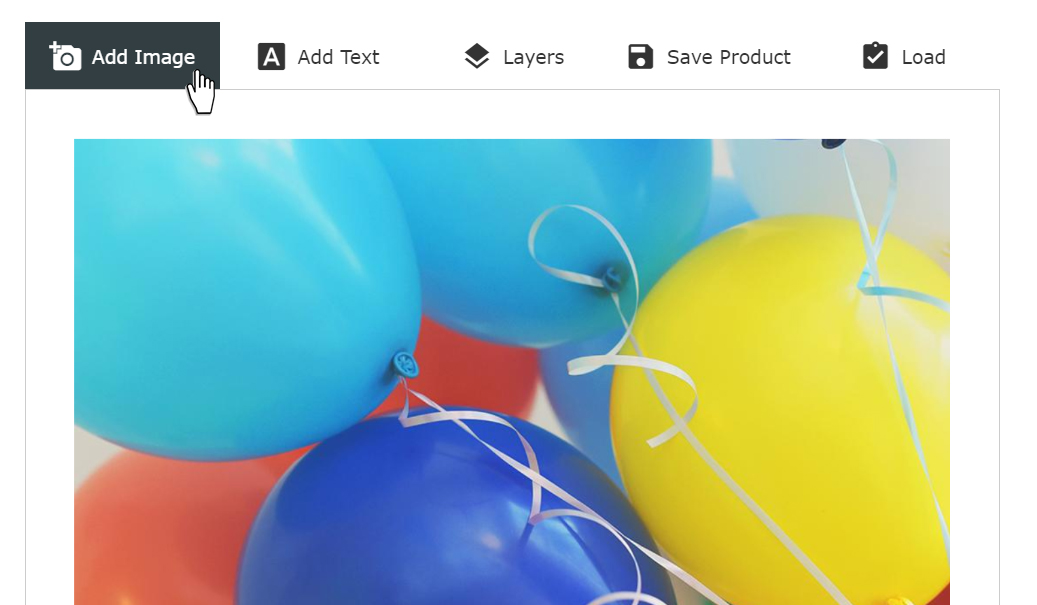
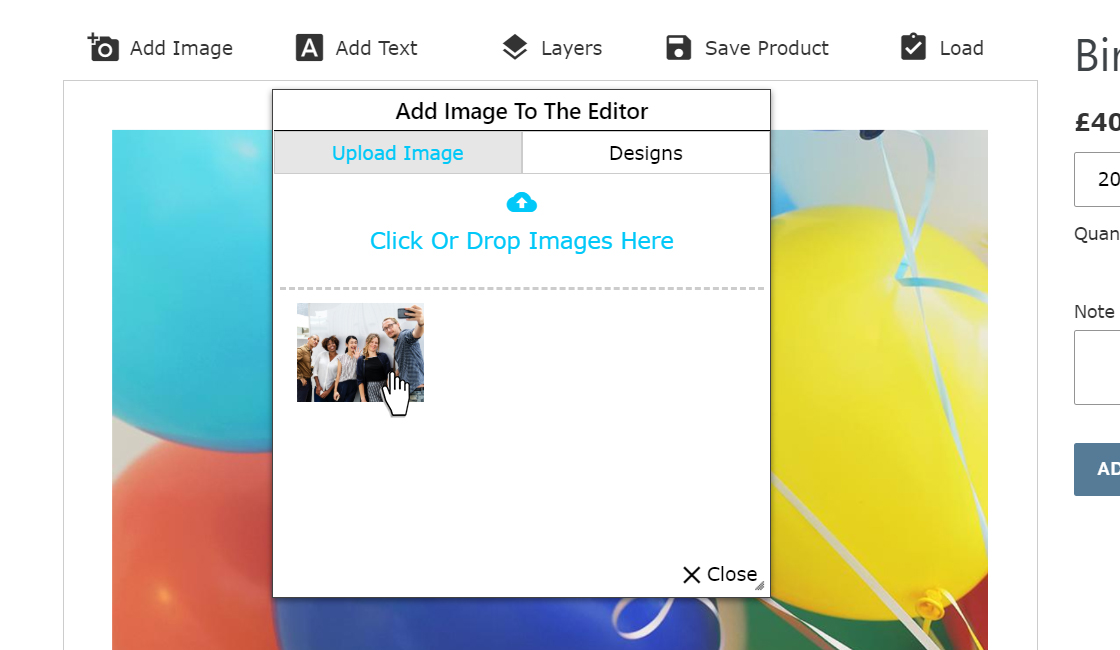
Upload A Photo
Click on "Add Image" to upload or drag your photo file onto the design editor.
Design Tip: It's best to upload a photo that's no less than 1000px to ensure that your card design looks sharp and clear when printed.
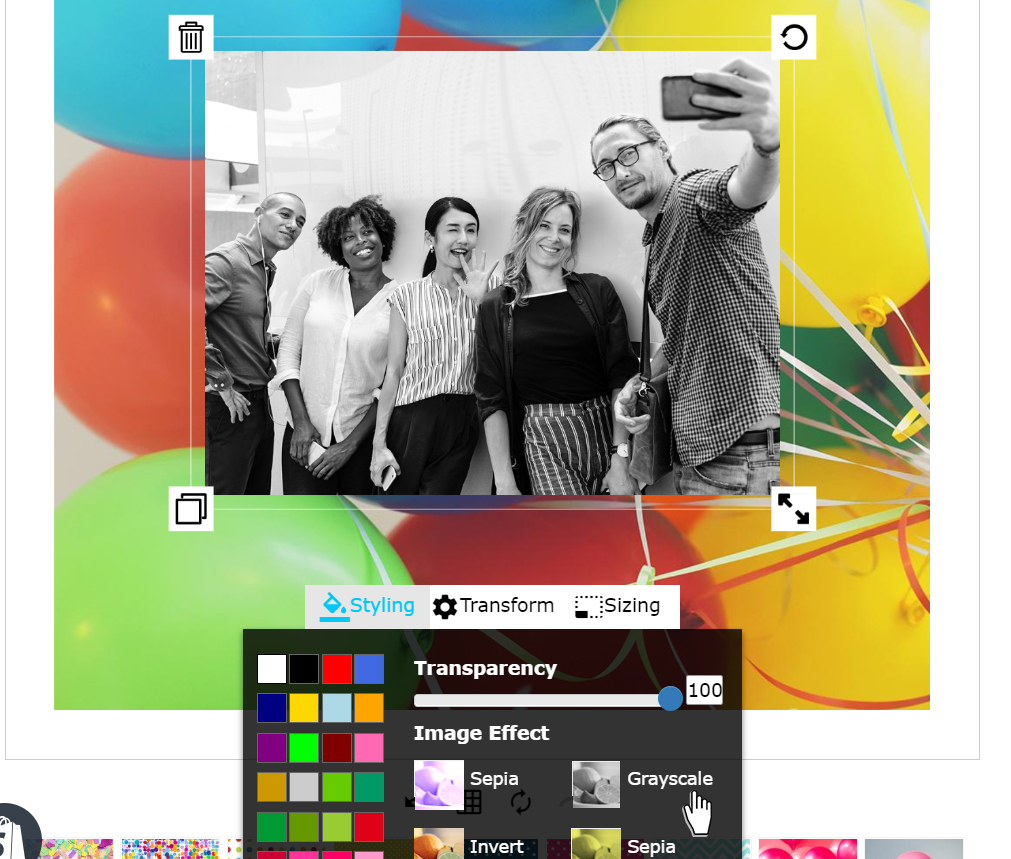
Add Photo Effects
Click on "Styling" if you would like to add any colour effects to your photo, such as sepia, grayscale or adding a colour mask.
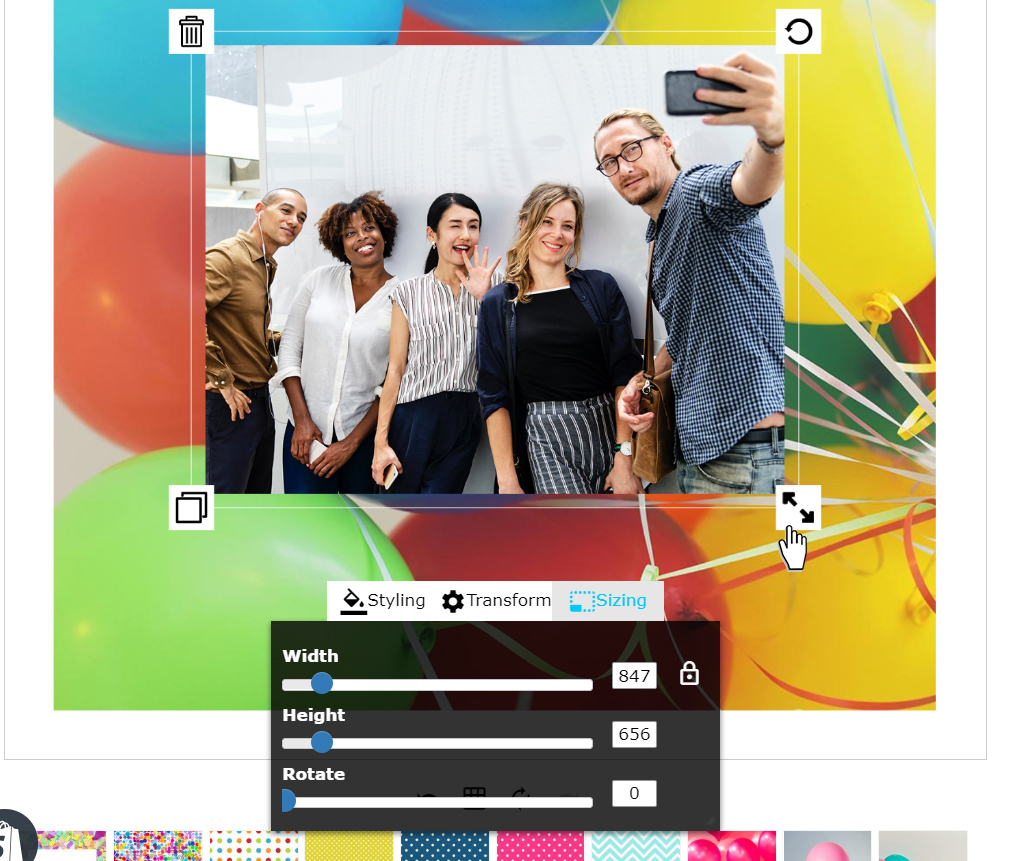
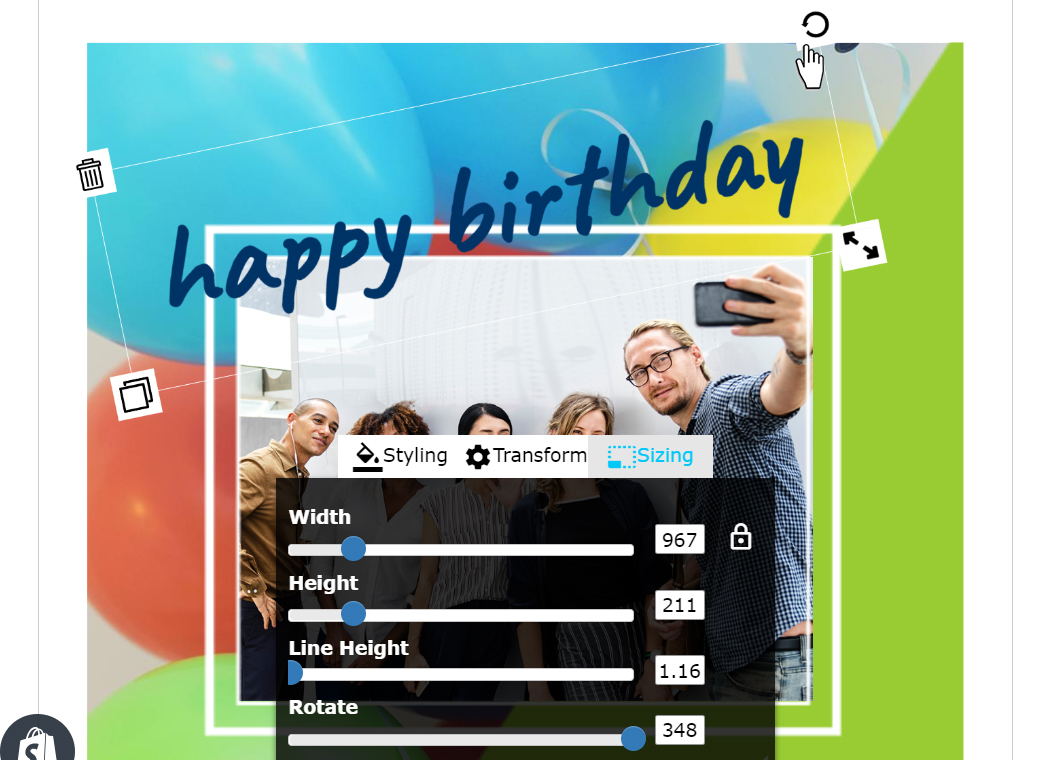
Resize Your Image
Click on "Sizing" to adjust the dimensions and orientation of the photo. You can also do this manually by using the arrow symbols displayed at the top/bottom right-hand corners of the photo.
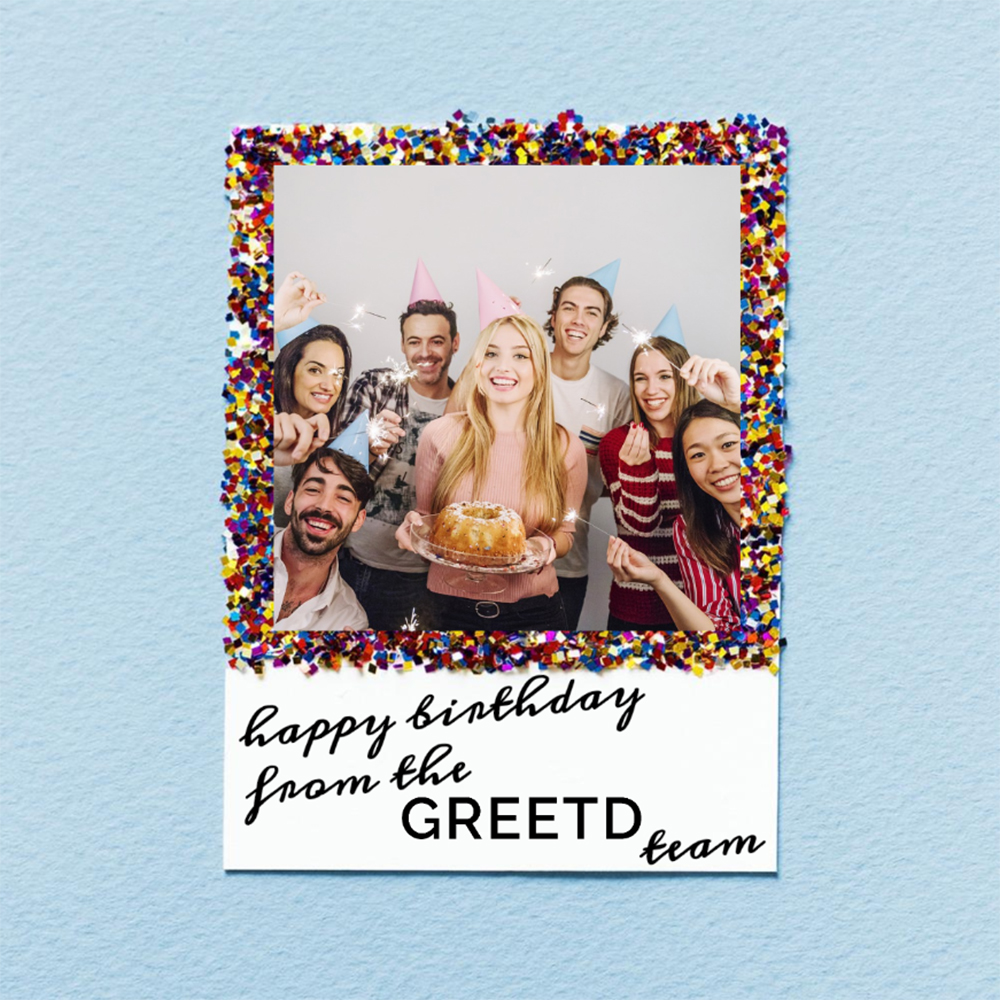
Add A Picture Frame
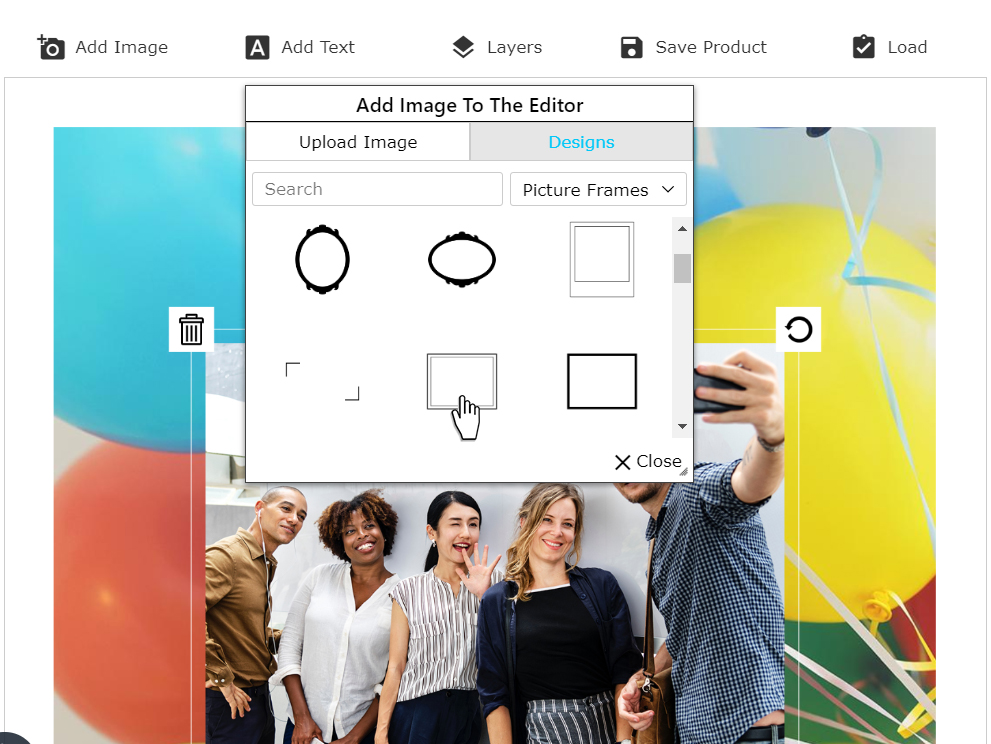
Frame Your Image
Click on "Add Image" then "Designs" and then select "Picture Frames" from the drop-down menu. Choose your desired frame style from the options below.
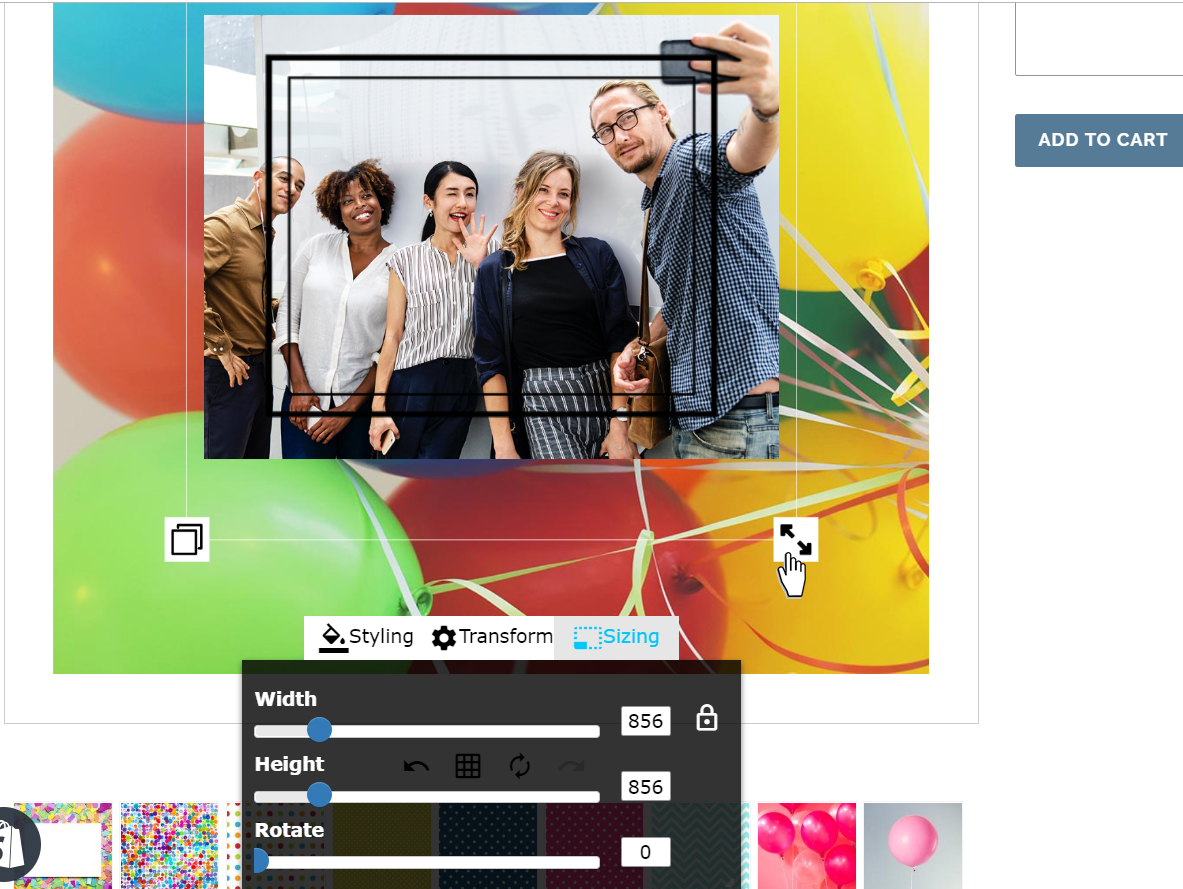
Adjust The Frame
Adjust the size dimensions of the frame and photo to make a good fit together. You can do by either using the "Sizing" tool or manually by using the arrow symbols displayed on the corners of the frame or photo.
Frame Style
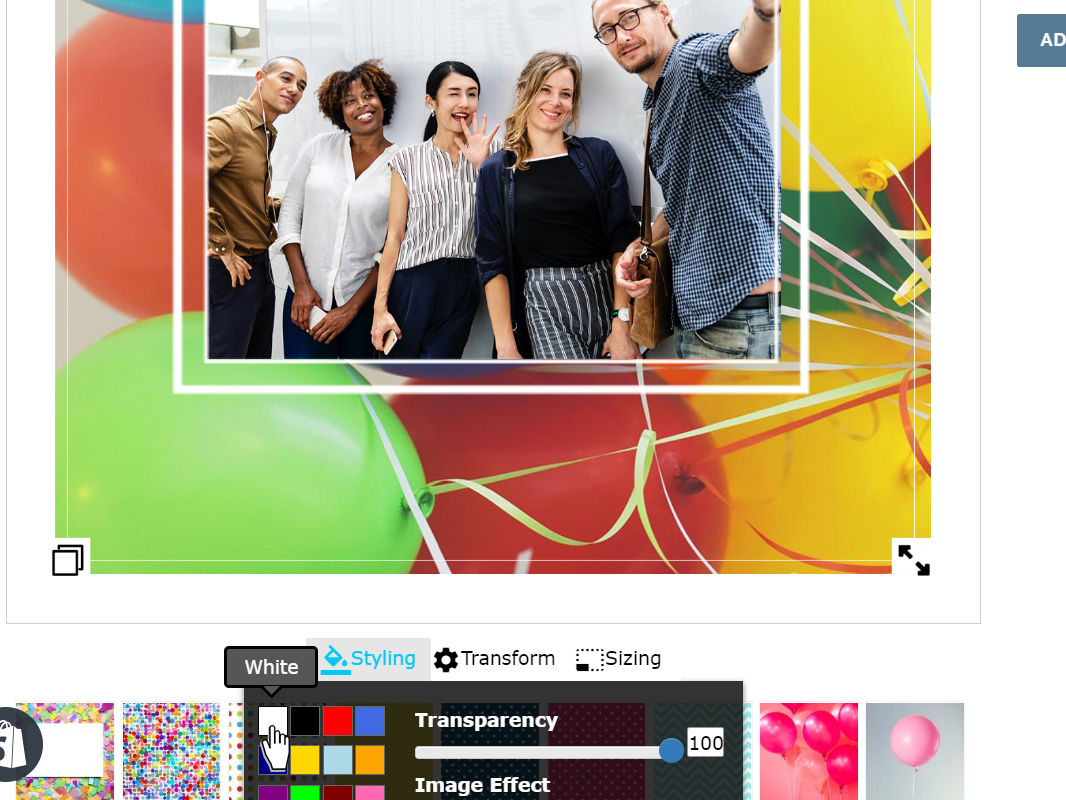
To change the colour of the frame, click on "Styling" and select a colour from the swatches. You can adjust the colour transparency here too.
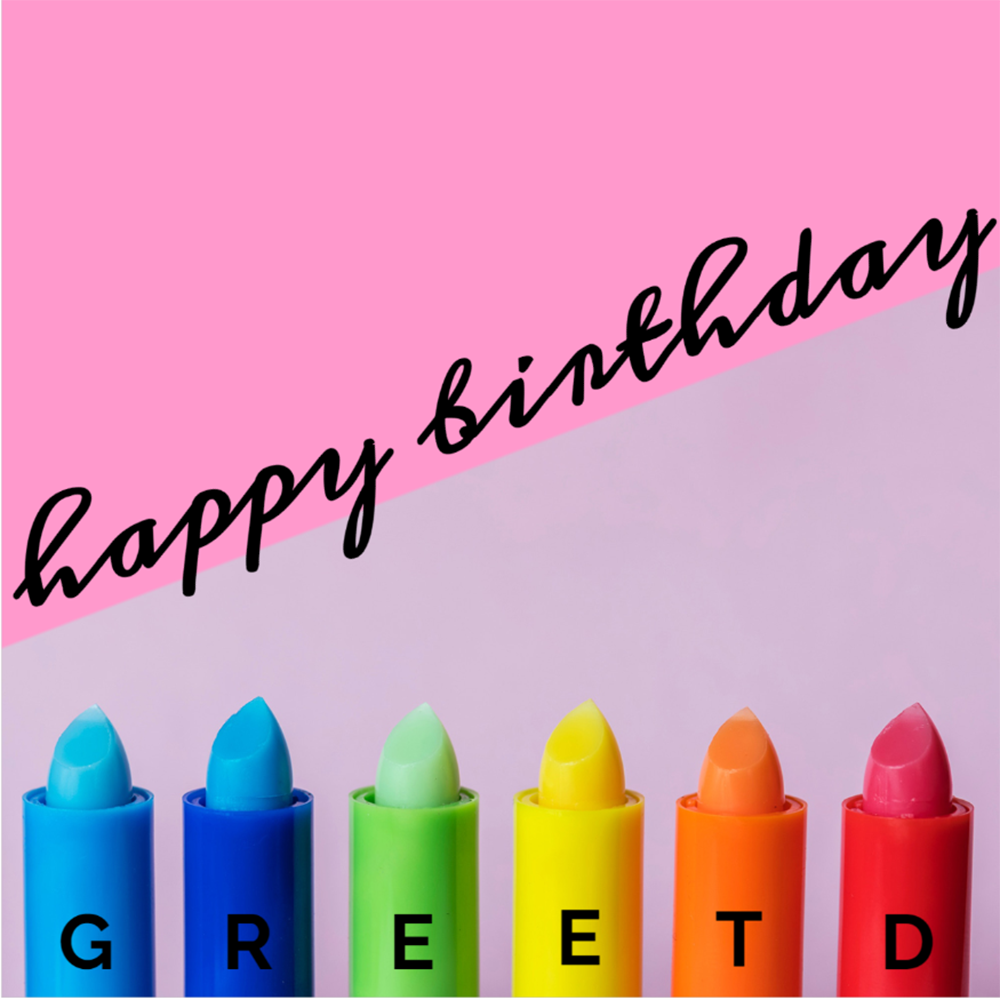
Add A Shape
Select A Shape
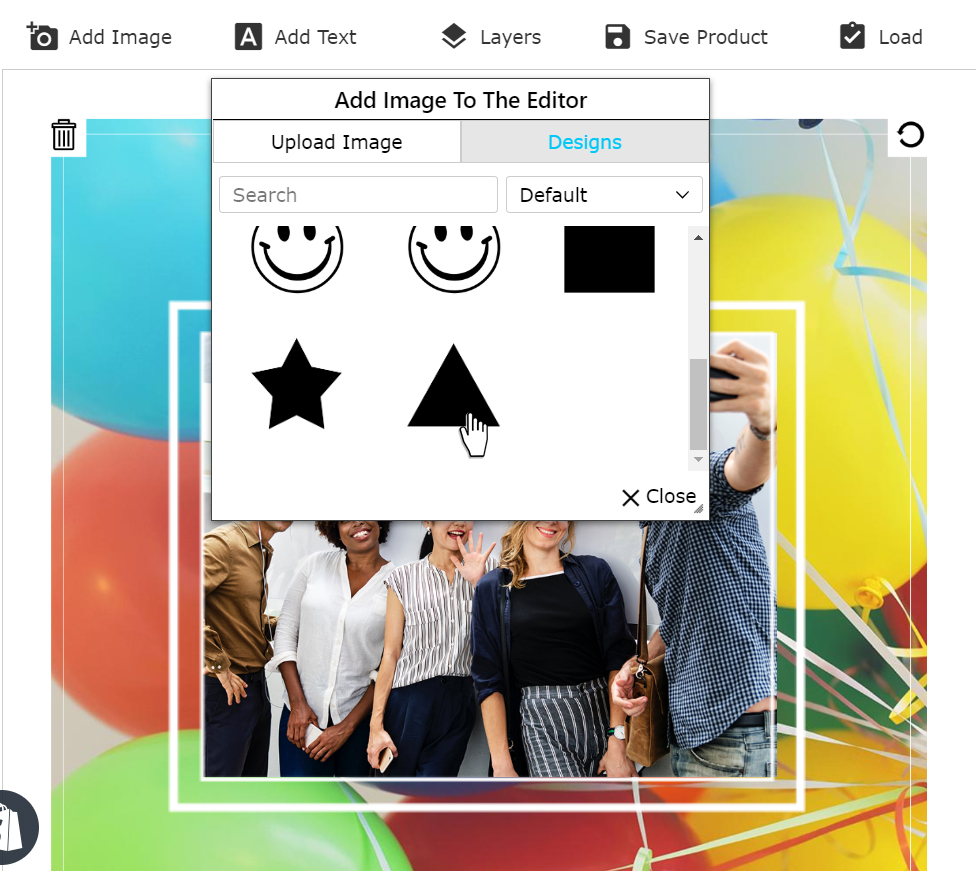
To add a shape to your design, click on "Add Image" then "Designs" and select "Default" from the drop-down menu. Choose your desired shape from the options below.
Resize The Shape
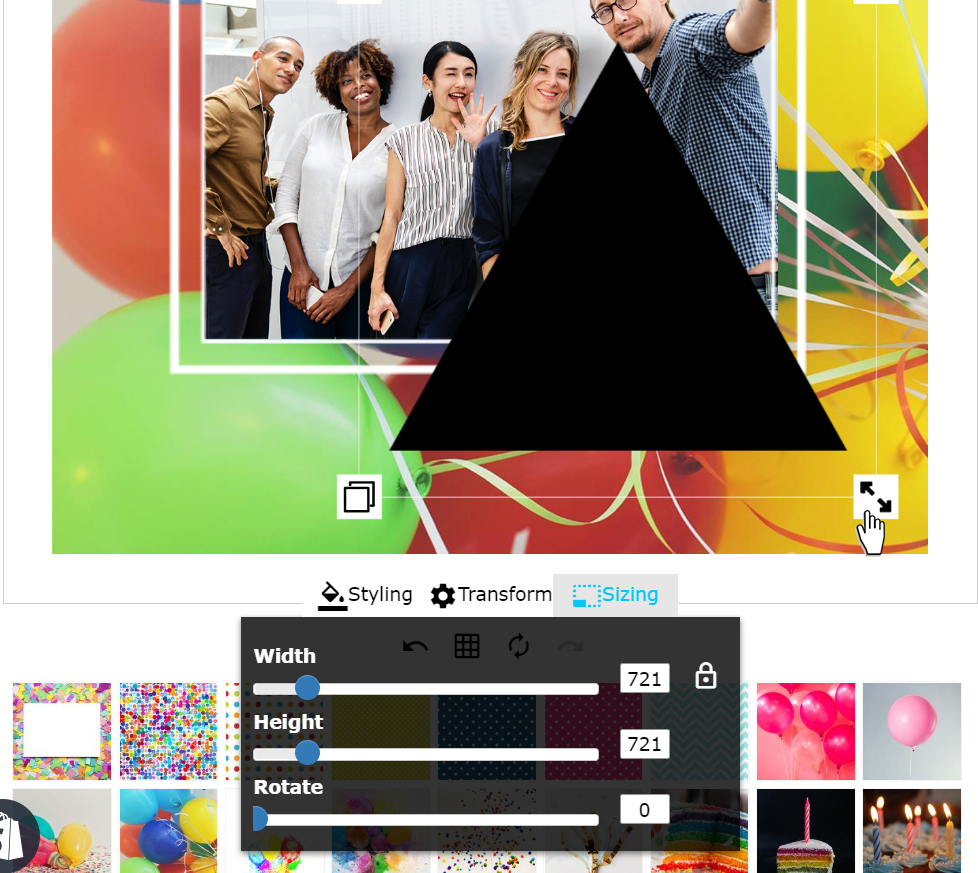
Click on "Sizing" to adjust the size and orientation of the shape, in this example, to create a background section of colour. You can also do this manually using the arrow symbols displayed on the corners of the shape itself.
Shape Style
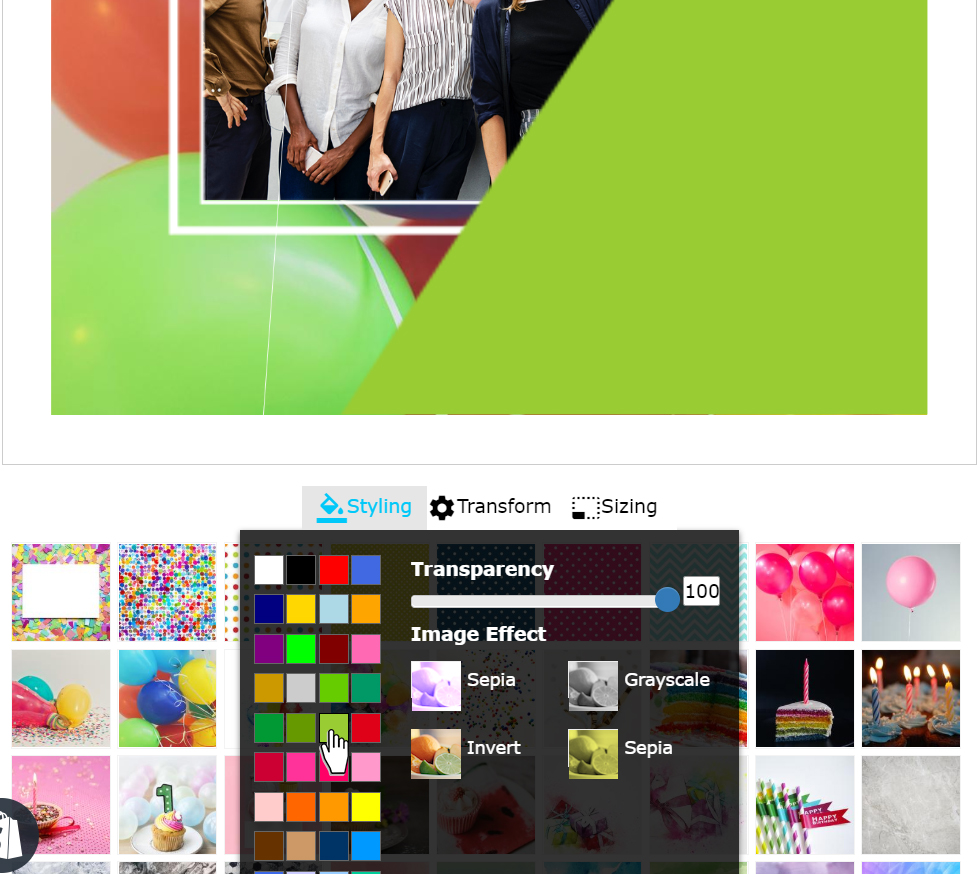
Click on "Styling" to change the colour of the shape, selecting your chosen colour from the swatches. If you would like the background to be visible behind the shape, simply amend the transparency of the shape.
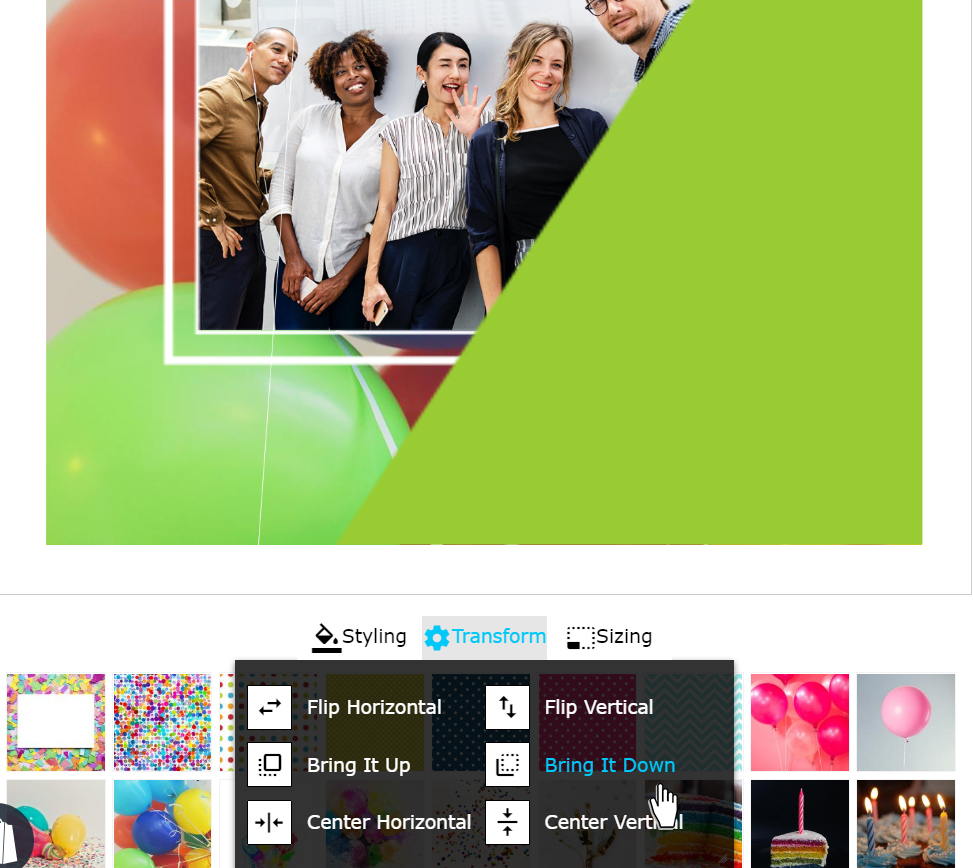
Manage Layers
Click on "Transform" then "Bring It Down" to adjust the design layers. In this instance we want to move the shape layer back so that it's displayed behind the photo and frame layers previously added.
Add Text
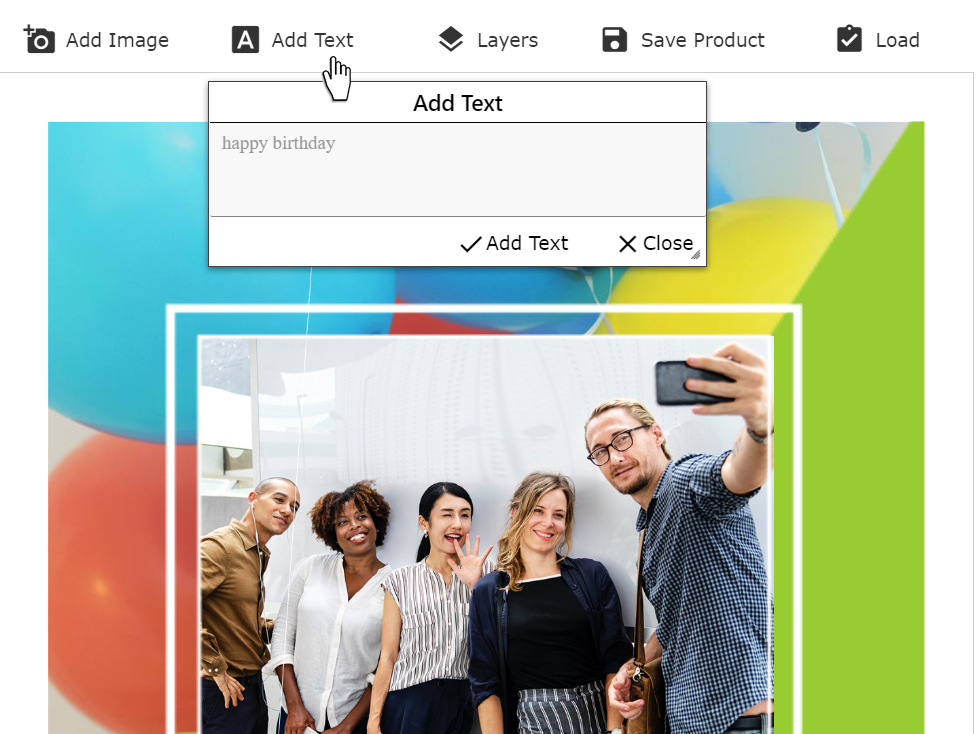
Add Your Birthday Greeting
Click on "Add Text" and type your chosen greeting into the text box, then click "Add Text" to insert the greeting onto your design.
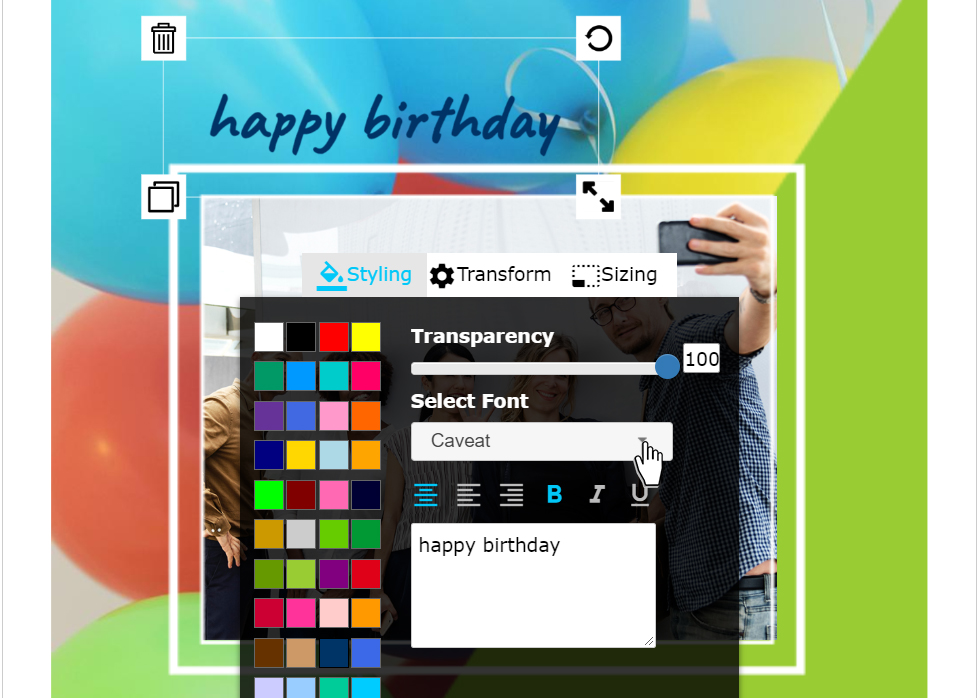
Text Style
Click on "Styling" to update the look of the text, such as the font type, boldness, transparency and colour.
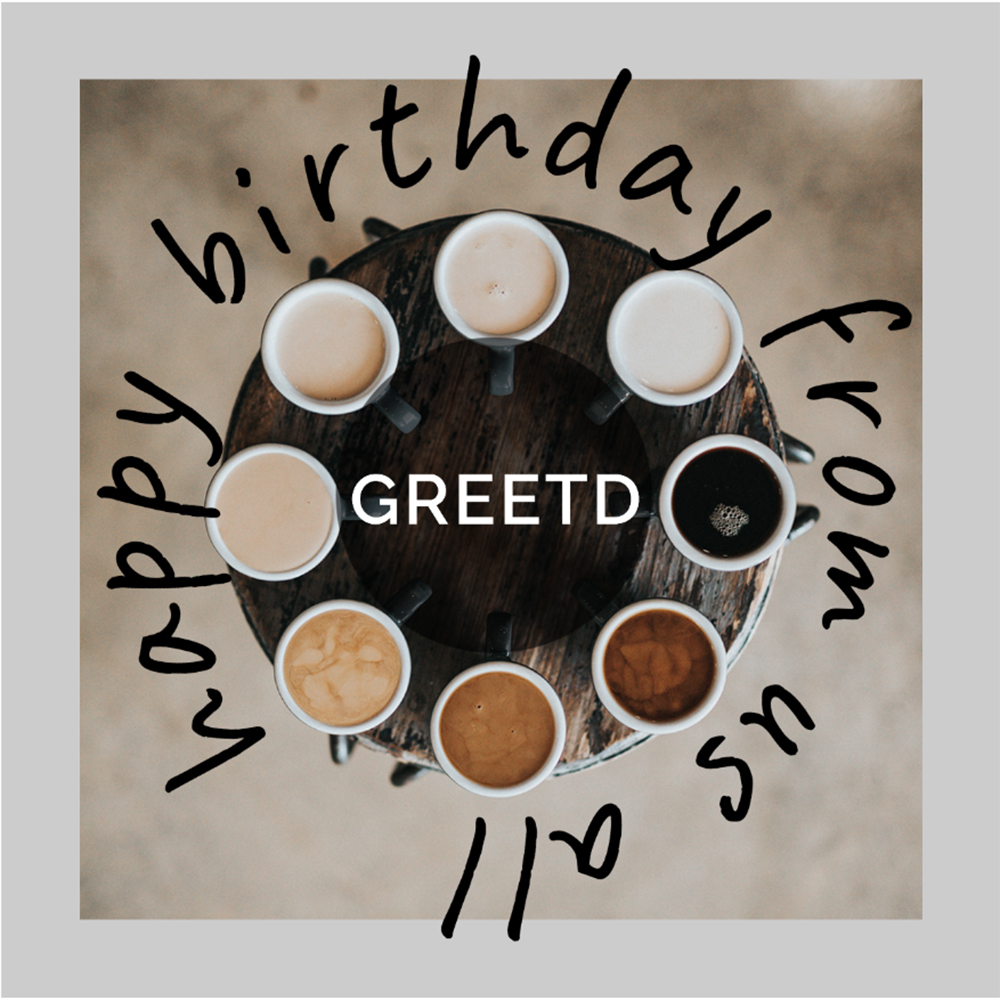
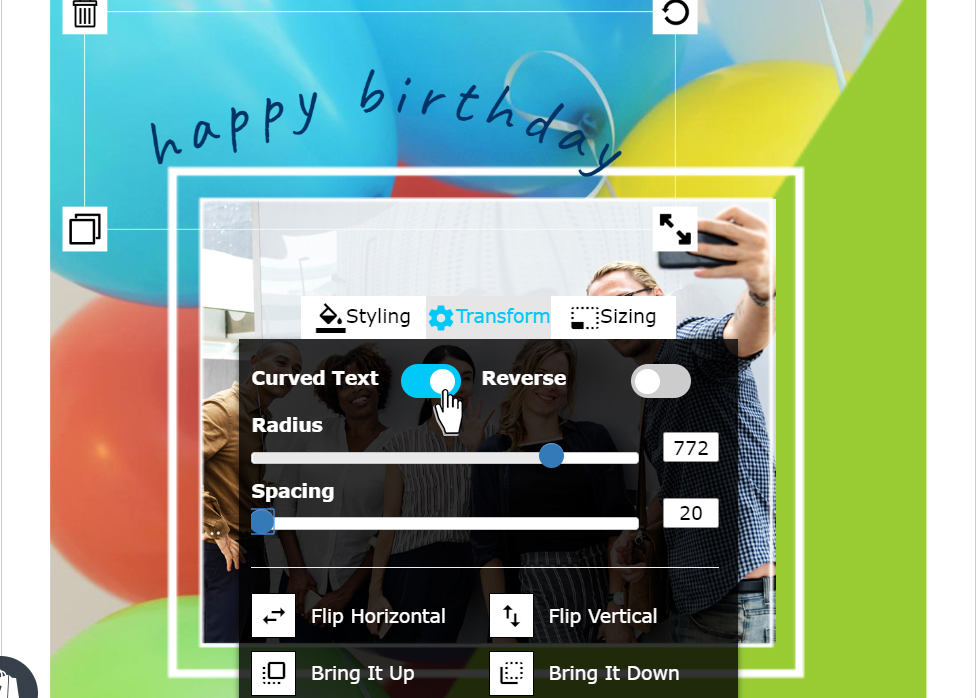
Curved Text
Click on "Transform" for more ways to edit the text, such as changing it into a curved shape.
Text Size
Click on "Sizing" to amend the size and orientation of your text. Alternatively, you can adjust these settings manually using the arrow symbols displayed on the corners of the text box.
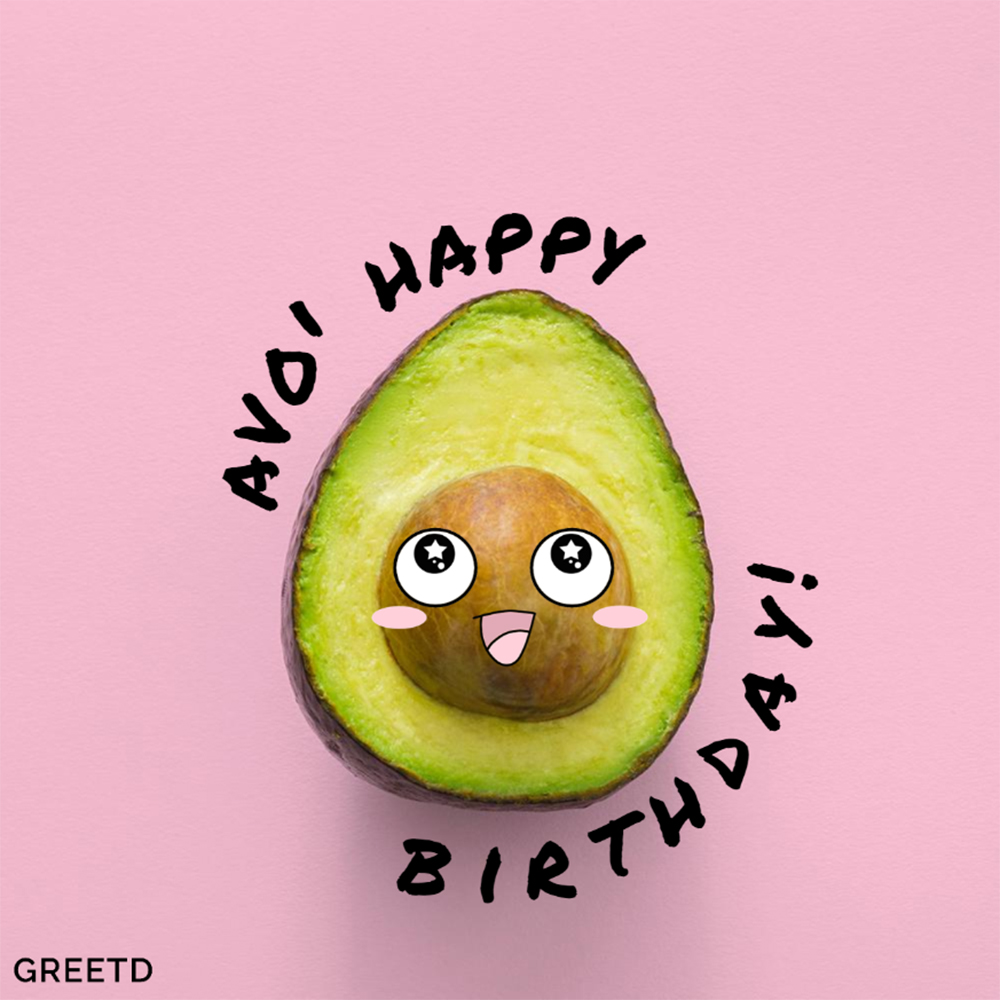
Add Your Logo
Upload Your Logo
Click on "Add Image" to upload your logo onto the design. If possible, it's best to use a logo image that has a transparent background so that you can place it anywhere on your design.
Style Your Logo
If you want to change the colour of your logo, use the "Styling" tool and select your preferred colour from the swatches displayed.
Adjust the size, orientation and placement of your logo using the arrow symbols displayed on the corners of your logo image to move it into place on your design.
Save & Order
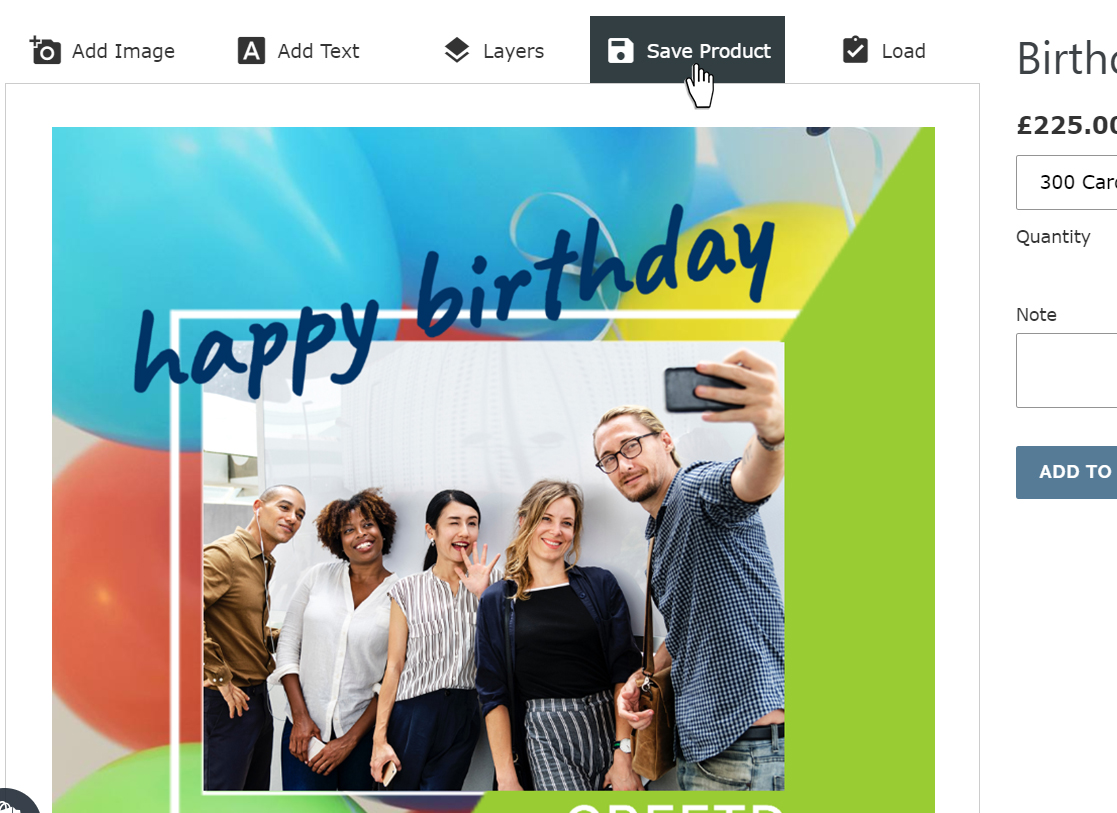

Save Your Design
You can save your design by clicking "Save Product" (you'll need to be logged in to do this).
Important to note:
If you refresh the page your design will be lost! We advise that you create an account with us so that you can save your product at any time.
Order Your Cards
When your masterpiece is finished, simply select the amount of cards that you would like to order and then click "Add To Cart". You're welcome to leave us a note too if you have any requests or questions about your order.
Ready to design your own birthday card?
Stuck for ideas? Here's some inspiration...